Part 6 — How to Dye Marabou Feathers: Troubleshooting & Quality Control Guide
Introduction
Dye marabou feathers troubleshooting starts here: even when you understand chemistry and follow a structured process, problems can still appear.The difference between amateur results and professional consistency is not avoiding mistakes — it is diagnosing and correcting them. This section defines a repeatable troubleshooting framework for how to dye marabou feathers with production-level consistency.
Dye Marabou Feathers Troubleshooting: A Diagnostic Approach
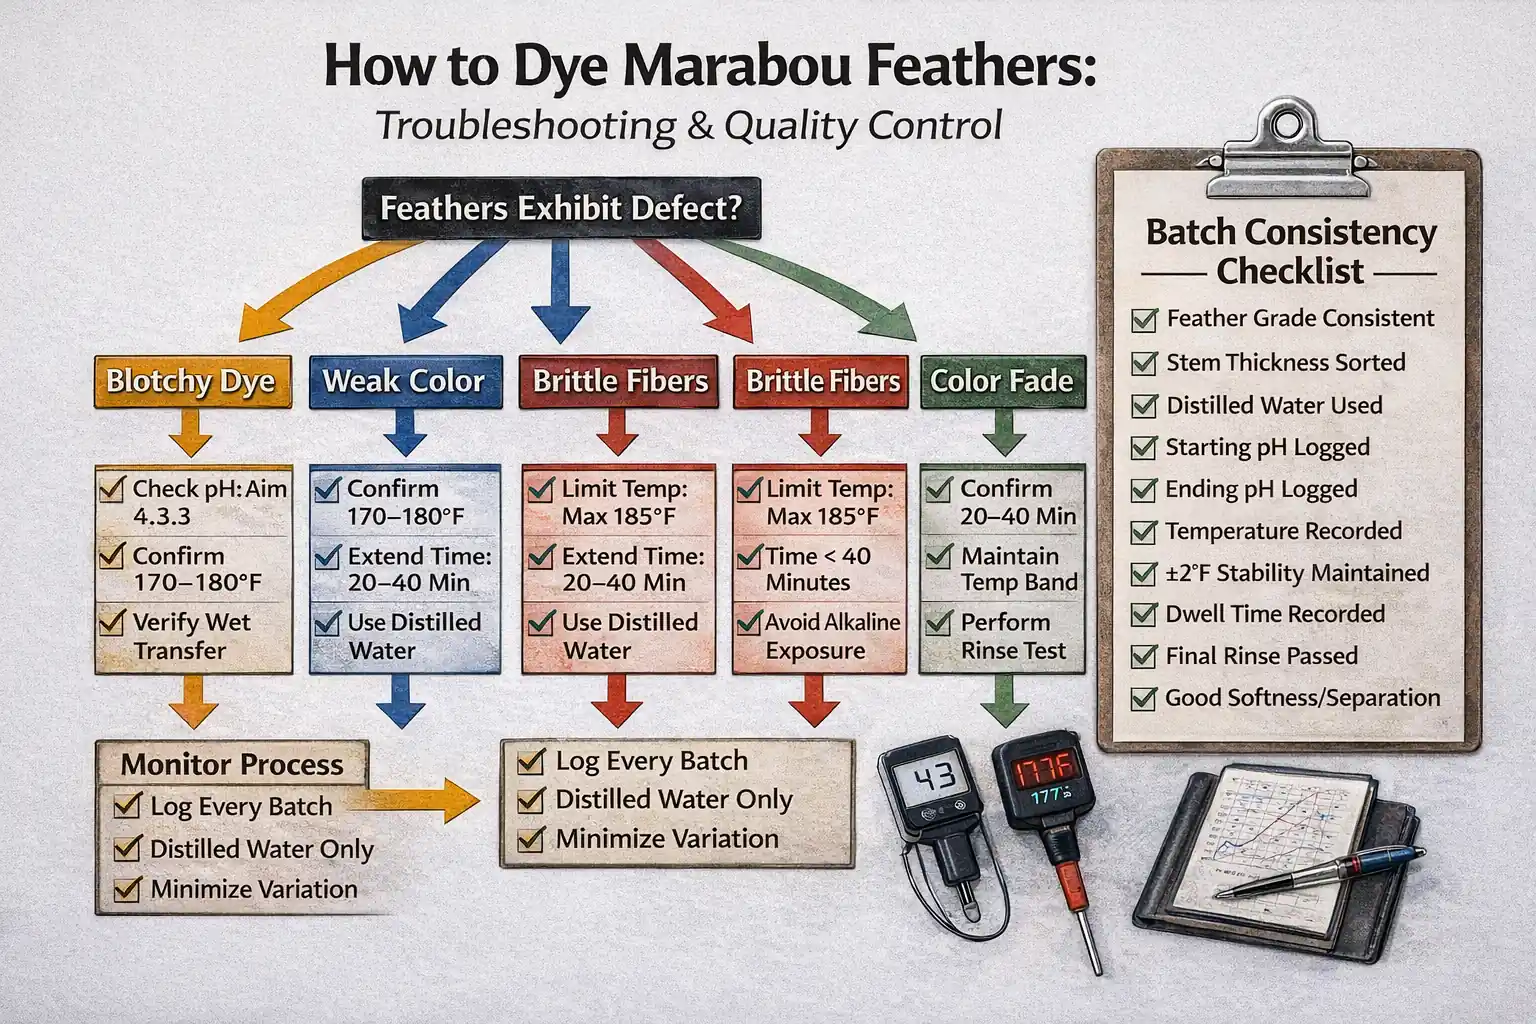
When a defect appears, do not guess. Always evaluate in this order: temperature control → pH stability → water quality → dwell time → material grade consistency. Correct the variable. Then retest.
1. Blotchy Dye Jobs
Symptoms
- Dark patches on outer barbs
- Pale interior fibers
- Uneven tone within the same plume
Likely Causes
- pH dropped below 4.0 (over-acidification)
- Dye struck too fast
- Feathers partially dried before entering bath
- Inadequate pre-dye degreasing
Correction
- Raise pH slightly toward 4.3–4.5
- Reduce acid concentration
- Ensure feathers move directly from rinse to dye bath (never dry)
- Verify degreasing temperature: 100–110°F
2. Weak Color Penetration
Symptoms
- Strong exterior tone
- Pale stem core
- Noticeable fade after rinse
Likely Causes
- Temperature below 170°F
- Insufficient dwell time
- High pH above 5.5
- Hard water contamination
Correction
- Maintain 170–180°F
- Extend bonding time (target 20–40 minutes)
- Confirm pH 4.2–4.5
- Use distilled water only
3. Brittle or Shrunken Fibers
Symptoms
- Reduced softness
- Fiber collapse
- Shortened feather profile
- Loss of breathing action in water
Likely Causes
- Temperature exceeded 185°F
- Boiling occurred
- Excessive dwell time
- Strong alkaline exposure
Correction
- Never allow boil
- Maintain ±2°F once stabilized
- Limit bonding to 40 minutes max
- Avoid strong bases
Protein denaturation cannot be reversed. Damaged feathers must be rejected.
4. Feather Stem Curling
Symptoms
- Stem bends or twists after drying
- Feather profile distorted
Likely Causes
- Rapid temperature changes
- Uneven heating
- Excessive acid concentration
Correction
- Gradual heat ramp
- Even bath agitation
- Verify acid measurements
- Avoid large pH swings
5. Color Fading After Drying
Symptoms
- Feather looks correct wet
- Appears dull once dry
- Light rub transfers pigment
Likely Causes
- Incomplete fixation
- Insufficient dwell time
- Temperature dropped during bonding
- Excess residual dye not rinsed
Correction
- Confirm 20–40-minute bond time
- Verify stable temperature band
- Perform rinse durability test
6. Testing Wash Fastness
Wash fastness confirms full bonding.
Standard Rinse Test
- Rinse feather in warm distilled water for 30 seconds
- Agitate lightly
- Observe runoff
Pass Criteria
- No visible dye bleed
- No noticeable tone loss
- Fibers remain separated
If bleed occurs: bonding was incomplete — review pH and temperature logs.
7. Diagnostic Flow Chart — Quick Reference
- If Color Is Uneven: Check pH first → then confirm temperature → then confirm wet transfer from rinse
- If Color Is Weak: Check temperature → check dwell time → check distilled water use
- If Fibers Are Stiff: Check maximum temperature → check dwell time → check alkaline exposure
- If Tone Fades: Confirm fixation duration → perform rinse test → review batch log
Never adjust multiple variables at once.
Batch Consistency Checklist
- Feather grade consistent
- Stem thickness sorted
- Distilled water used
- pH logged (start and finish)
- Temperature within 170–180°F
- ±2°F fluctuation maintained
- Dwell time recorded
- Rinse test passed
- Softness test passed
- Separation test passed
Consistency is built through measurement, not estimation.
Frequently Asked Questions About Marabou Dye Troubleshooting
What’s the first thing I should check when a dye batch goes wrong?
Always work through variables in order rather than guessing: temperature control, then pH stability, then water quality, then dwell time, then material grade consistency. Adjust one variable, correct it, and retest before touching anything else.
Can a blotchy or brittle batch be fixed after the fact?
Blotchy dye can sometimes be corrected by re-dyeing with the pH and temperature issues fixed. Brittle or shrunken fibers cannot be reversed — protein denaturation from excess heat is permanent, and those feathers should be rejected rather than reworked.
Why does my marabou look fine wet but fade once it dries?
This almost always means incomplete fixation — either the dwell time was too short or temperature dropped during bonding. Confirm you held 170–180°F for the full 20 to 40 minute bond time, then run the rinse fastness test before drying the next batch.
How do I know if a batch actually passed quality control?
Run the batch consistency checklist: consistent feather grade, sorted stem thickness, distilled water, logged pH at start and finish, temperature held in the 170–180°F band with ±2°F fluctuation, recorded dwell time, and passed rinse, softness, and separation tests. If all of those check out, the batch is production-ready.
Why Troubleshooting Matters on the Water
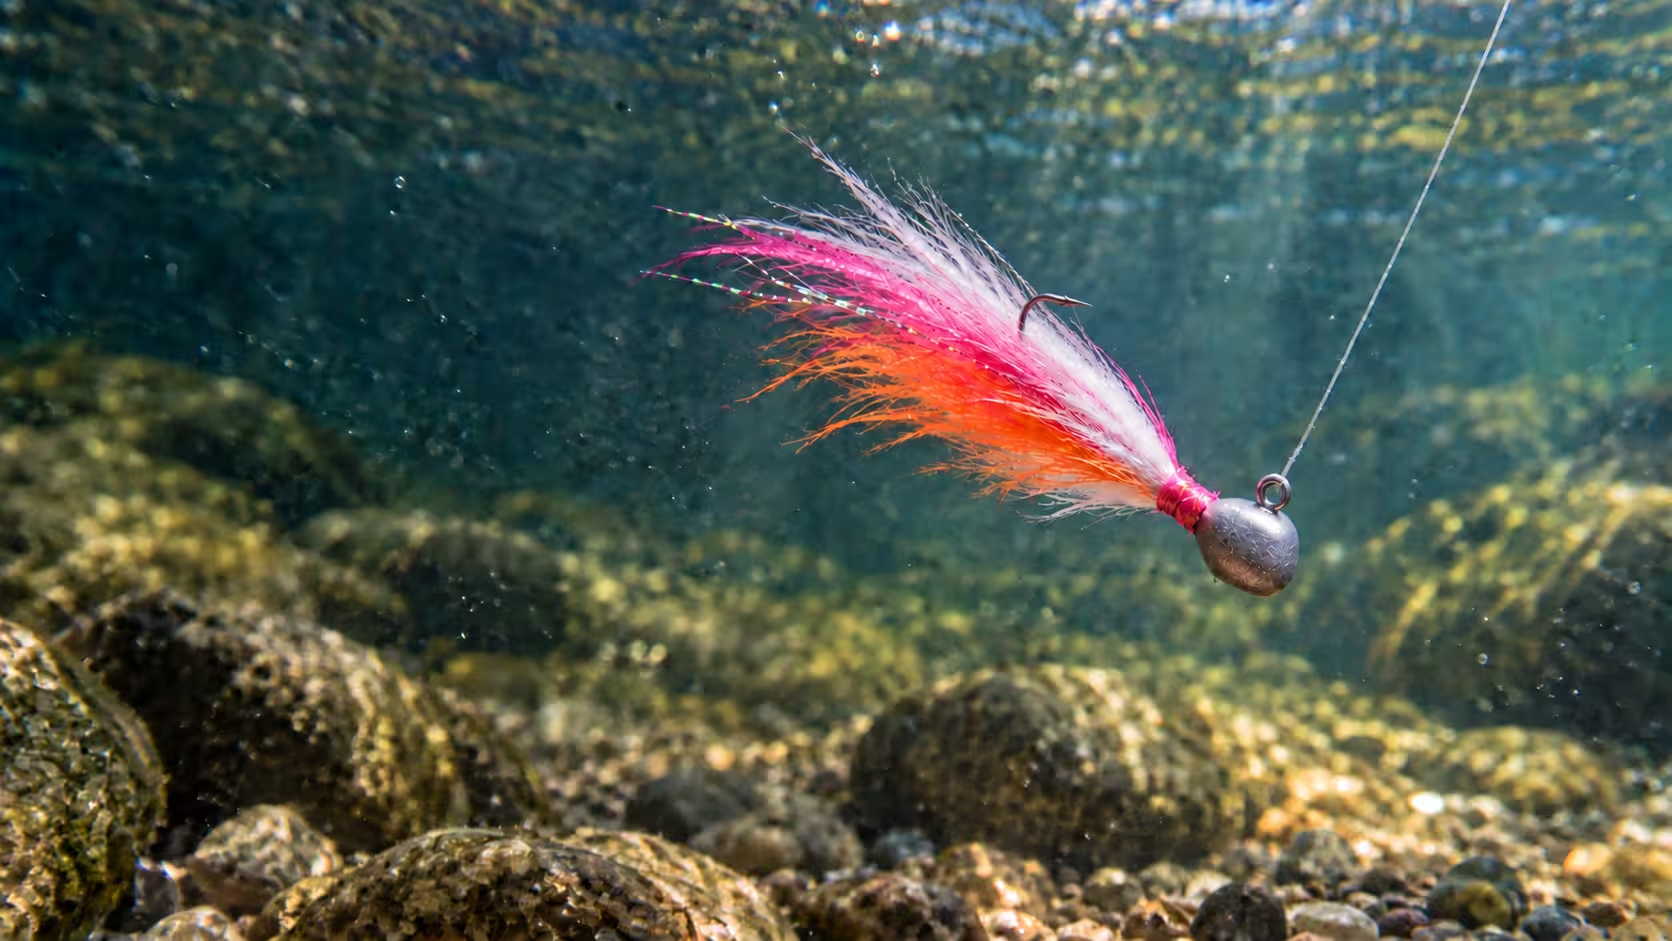
Improper dye chemistry shows up immediately: reduced pulsing, flat presentation, muddy tones, premature fade, and inconsistent jig performance. Properly dyed marabou breathes naturally, maintains separation, holds color after repeated use, and performs consistently from batch to batch.
Learning how to dye marabou feathers professionally means knowing how to diagnose failure — not just how to produce color.
If you have not reviewed the advanced technique section, read Part 5 — Advanced Techniques in How to Dye Marabou Feathers to understand how layered dyeing, controlled bleaching, and industrial batch methods interact with troubleshooting and quality control. Precision in technique reduces the need for correction.