Best Trout Jig Setup for Any Condition
(Complete System: Weight, Shape, Hook Size, and Color)
Introduction
Choosing the best trout jig setup for any condition is not about finding a single perfect combination—it is about building a system that adjusts to changing conditions and fish behavior.
Every effective jig setup combines:
- weight
- shape
- hook size
- color
Each variable controls a different part of the presentation.
The best trout jig setup for any condition is the one that puts the lure in the right place, moves it correctly, hooks efficiently, and presents it in a way trout will commit to.
Best Trout Jig Setup for Any Condition
The best trout jig setup for any condition must accomplish four things:
- reach the correct depth
- maintain time in the strike zone
- move naturally through the water
- produce a believable visual signal
If any one of these fails, the entire system breaks down.
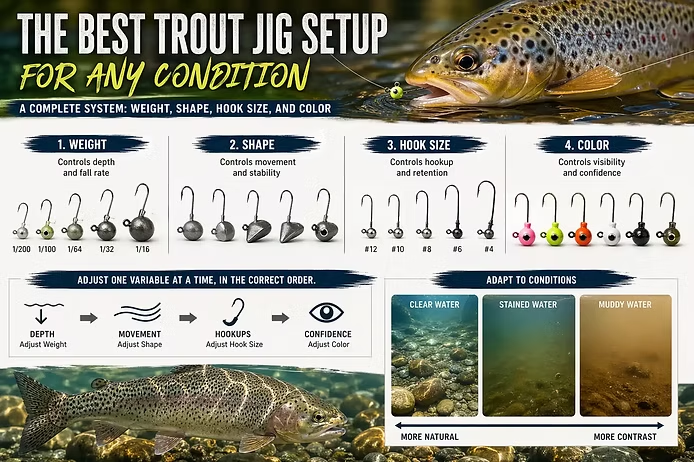
A. The Setup Hierarchy (Most Important Concept)
All variables must be adjusted in the correct order:
- Weight — controls depth and fall rate
- Shape — controls movement and stability
- Hook Size — controls hookup and retention
- Color — controls visibility and confidence
Key Principle
If weight is wrong, nothing else matters. If shape is wrong, movement fails. If hook size is wrong, fish are lost. If color is wrong, fish hesitate.
B. Step-by-Step Setup System
Step 1 — Set Weight First
Weight determines:
- sink rate
- time in strike zone
Adjust until:
- the jig reaches the fish
- the fall rate matches conditions
Failure Signs
- too fast → fish ignore it
- too slow → never reaches fish
Rule
Weight controls opportunity.
Step 2 — Choose Shape
Shape determines how the jig moves.
Options
- round → neutral fall
- wedge → controlled glide
- flat → stability
- minnow → forward tracking
- D2 → wobble
Failure Signs
- unstable drift
- unnatural movement
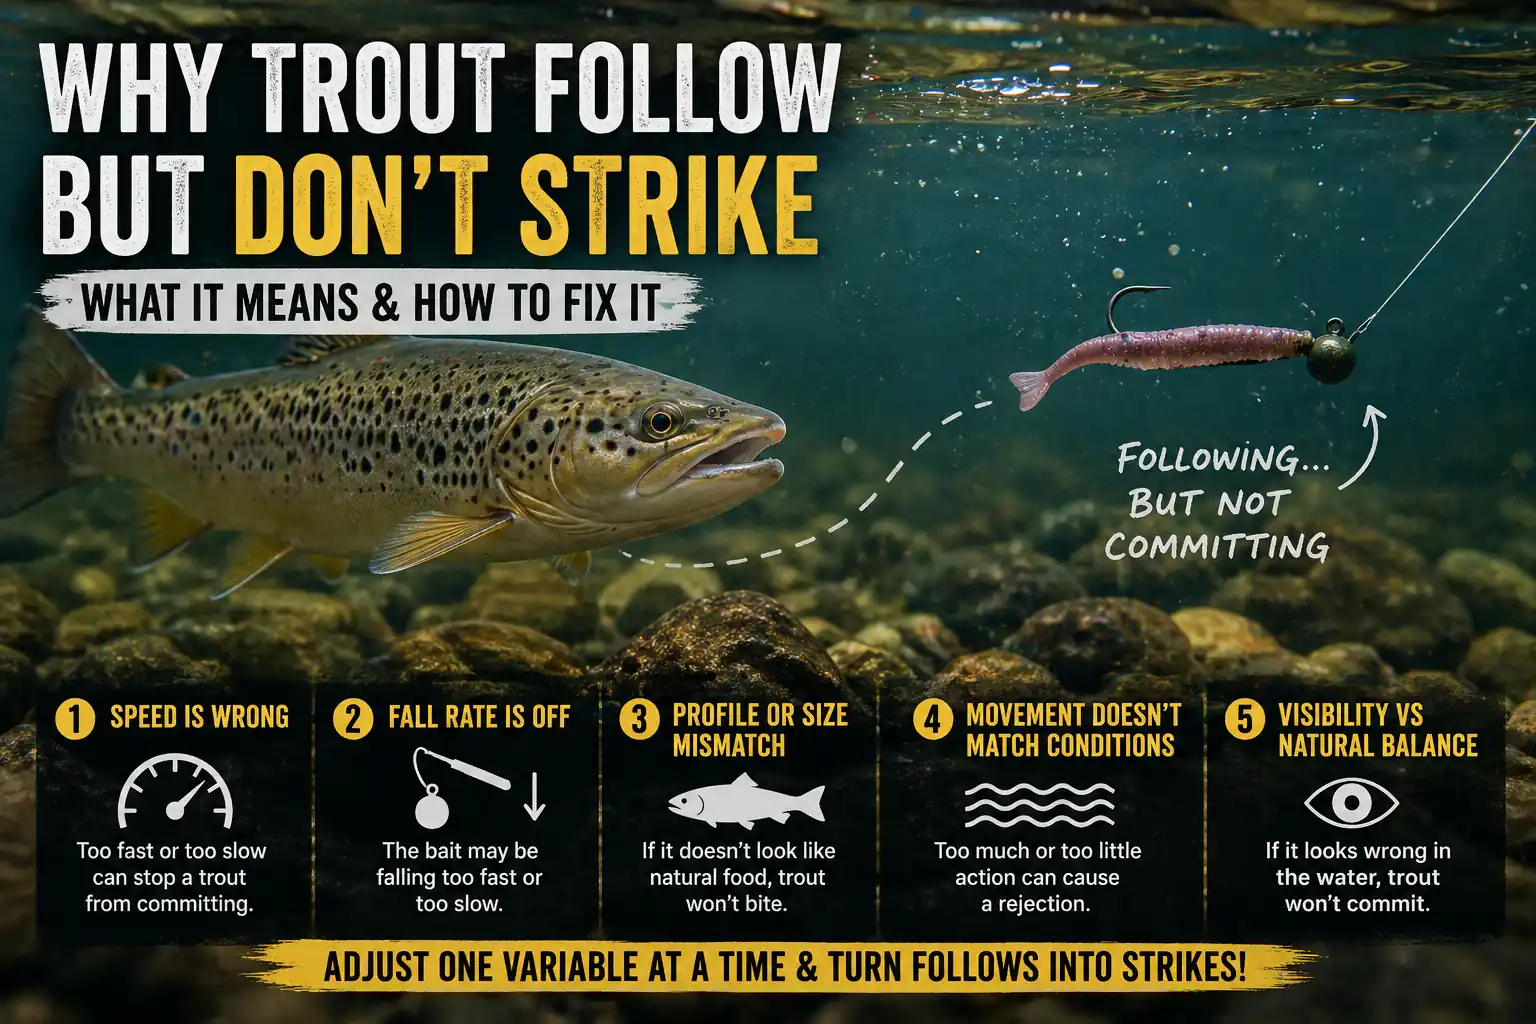
- fish follow but do not commit
Rule
Shape controls behavior in the water.
Step 3 — Select Hook Size
Hook size determines:
- bite conversion
- holding power
Guidelines
- #10–#12 → higher conversion
- #8–#6 → balanced
- #4 → stronger hold
Failure Signs
- missed bites → hook too large
- lost fish → hook too small or pressure issue
Rule
Hook size controls success after the strike.
Step 4 — Adjust Color Last
Color refines:
- visibility
- contrast
- confidence
Adjust based on
- water clarity
- light conditions
- fish behavior
Failure Signs
- fish follow but don’t strike
- fish don’t detect the bait
Rule
Color fine-tunes the system—it does not fix it.
C. Condition-Based Setup System
Clear Water + Pressured Fish
- weight → light
- shape → flat or round
- hook → smaller
- color → natural
Stained Water + Active Fish
- weight → moderate
- shape → wedge or minnow
- hook → medium
- color → high contrast
Current or Deeper Water
- weight → heavier
- shape → wedge or minnow
- hook → balanced
- color → contrast-based
Key Principle
Conditions determine setup—not preference.
D. Reading Fish Behavior (Feedback System)
No bites
- weight or depth issue
Fish not seeing bait
- increase contrast
Fish following
- adjust shape or color
Fish hitting but not hooking
- adjust hook size
Fish hooked but lost
- adjust hook or pressure
Key Principle
Fish behavior tells you what to change.
E. Troubleshooting System
Problem → Adjustment
- not reaching fish → increase weight
- unstable movement → change shape
- missed bites → smaller hook
- lost fish → adjust hook or pressure
- follows without strike → refine color
F. Common Mistakes
- changing multiple variables at once
- adjusting color before weight or shape
- ignoring fall rate
- using incorrect shape
G. Simple Decision Flow
Start Setup
- #8 hook
- round head
- neutral color
- correct weight
Adjust in order
- depth → weight
- movement → shape
- hookups → hook size
- confidence → color
H. System Integration
Every variable works together.
Examples
- heavier weight + minnow head → aggressive
- light weight + flat head → finesse
- D2 head + bright color → reaction trigger
Key Principle
The best trout jig setup for any condition is a combined system—not individual parts.
I. Real-World Example
Scenario
Clear water, shallow stream, pressured troutSlow current, high visibility, fish holding near bottom
Initial Setup
- Weight: 1/100 oz (correct depth and slow fall)
- Shape: flat head (stable, natural presentation)
- Hook: #10 (high conversion, small profile)
- Color: light-colored painted head (moderate contrast)
Observed Behavior
- multiple follows
- fish tracking the jig closely
- no strikes
System Diagnosis
Since fish are:
- seeing the jig → visibility is correct
- following the jig → movement is correct
The issue is not:
- weight
- shape
The issue is:
final commitment (confidence problem)
Adjustment Sequence (Correct Order)
Step 1 — Reduce Reflectivity
- switch from gloss/light paint → matte or unpainted
Step 2 — Reduce Visual Harshness
- move from lighter head → darker, lower-contrast tone
Adjusted Setup
- Weight: unchanged (1/100 oz)
- Shape: unchanged (flat)
- Hook: unchanged (#10)
- Color: matte natural (black / dull olive / unpainted)
Result
- reduced follow distance
- increased immediate strikes
- higher conversion rate
Key Insight
The fish were not rejecting the jig because of movement—they were rejecting the visual signal at close range.
J. Best Trout Jig Setup for Any Condition (Conclusion)
The best trout jig setup for any condition is built by:
- setting weight
- controlling movement with shape
- optimizing hook size
- refining color
Final Rule
Adjust one variable at a time, in the correct order.
SUMMARY
- weight controls depth
- shape controls movement
- hook controls landing fish
- color controls perception
ACTION CHECKLIST
Before fishing
- set weight
- choose shape
- match hook size
- start neutral color
During fishing
- observe fish behavior
- adjust one variable at a time
Frequently Asked Questions
What is the best setup for any condition?
The best trout jig setup starts with selecting the correct jig head weight, then choosing the appropriate head shape, hook size, and finally color. Adjusting these variables in the proper order keeps the lure in the strike zone, creates natural movement, improves hook-up percentage, and matches changing fishing conditions.
Should I change jig head color first when trout are not biting?
No. Color should be the last adjustment you make. First verify that your jig is reaching the correct depth, falling naturally, and using the proper hook size. Color only fine-tunes visibility and trout confidence after the rest of the system is correct.
What is the most important part of a trout jig setup?
Weight is the most important variable because it controls depth and fall rate. If the jig never reaches the fish or falls too quickly, changing the hook size, shape, or color will rarely solve the problem.
How do I know if my jig head weight is wrong?
Common signs include:
- The jig never reaches the fish before drifting away.
- It falls too quickly and trout ignore it.
- It stays above the strike zone.
- Trout follow briefly but lose interest because the presentation is unnatural.
Which jig head shape is best for trout?
There is no single best shape. Choose the head based on the presentation you need:
- Round heads provide a natural, neutral fall.
- Flat heads increase stability during slow presentations.
- Wedge heads improve control in current.
- Minnow heads track forward naturally.
- D2 heads create extra wobble and vibration.
What hook size should I use for trout jigs?
For most trout fishing:
- #12–#10 hooks work well for small soft plastics and pressured trout.
- #8 hooks are an excellent all-around choice.
- #6–#4 hooks are better for larger baits and bigger trout.
Match the hook size to the lure rather than simply choosing the largest hook available.
How do I choose the right jig head color?
Match the color to water clarity and light conditions.
- Clear water: natural, matte, or unpainted colors.
- Lightly stained water: moderate contrast.
- Muddy water: bright or high-contrast colors that are easier for trout to detect.
What should I change if trout are following but not striking?
If trout consistently follow the lure without committing:
- Keep the weight the same if the jig is reaching the fish.
- Keep the shape the same if the movement looks natural.
- Refine the color by reducing or increasing contrast.
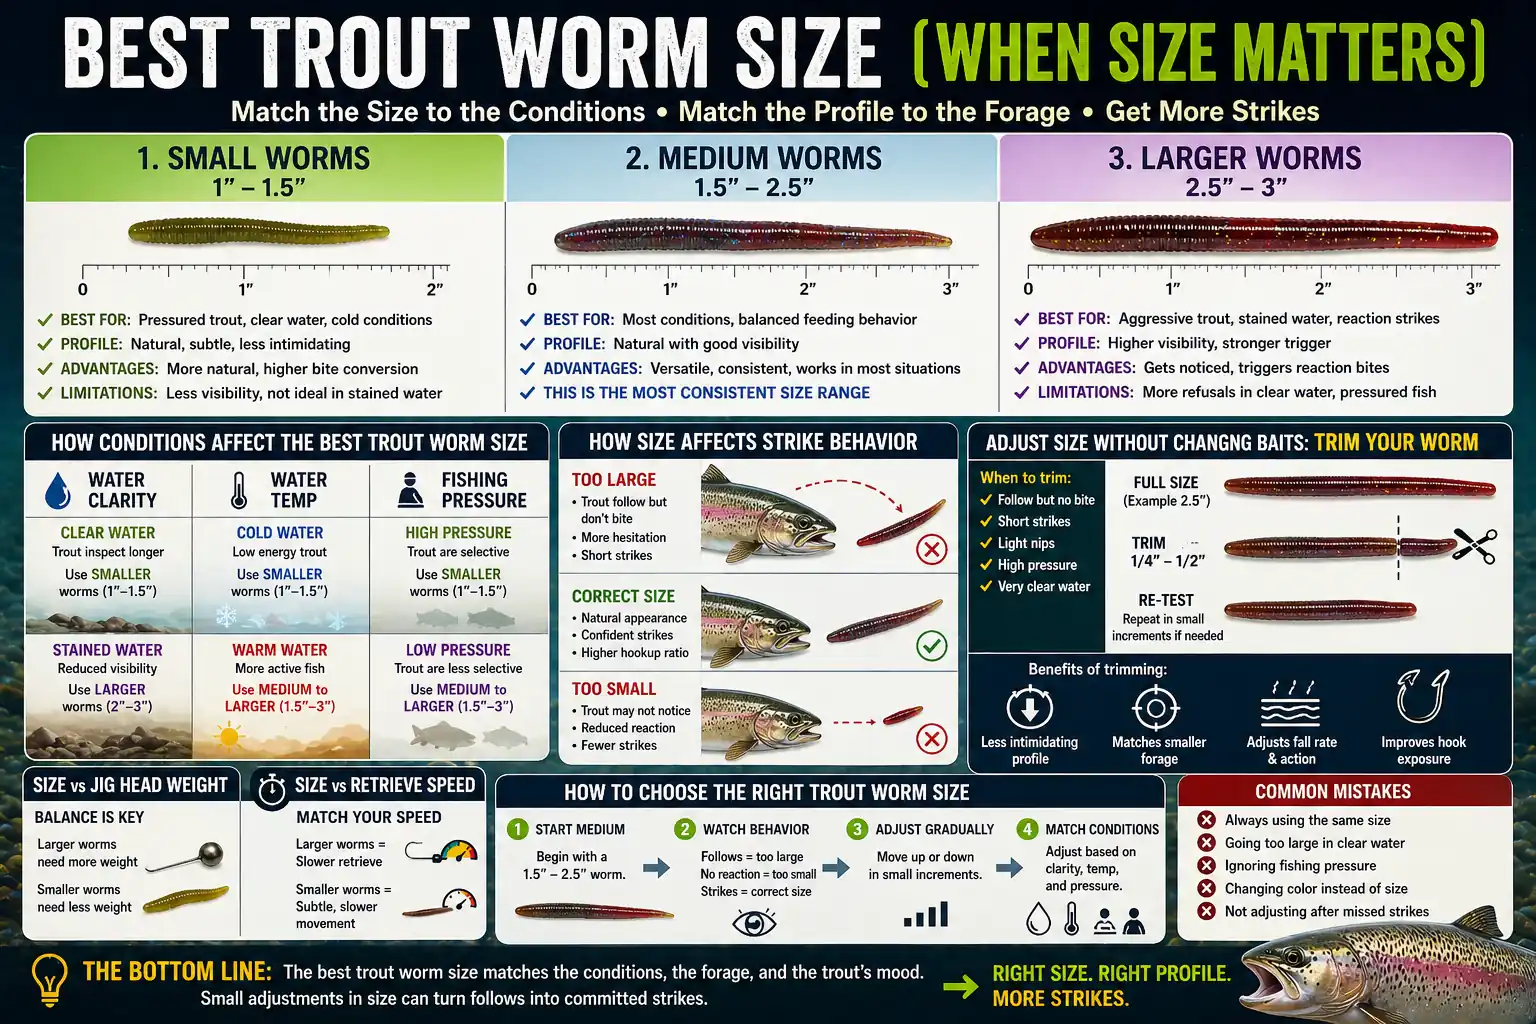
- If needed, slightly reduce hook size to create a smaller profile.
Adjust only one variable at a time.
Why should I change only one variable at a time?
Changing multiple variables makes it impossible to determine which adjustment improved or hurt the presentation. Making one change at a time allows fish behavior to provide clear feedback and helps you build a repeatable system.
Does this trout jig setup work for rivers, lakes, ponds, and streams?
Yes. The same system applies to all trout waters. The specific weight, shape, hook size, and color may change, but the adjustment sequence remains the same:
- Weight
- Shape
- Hook Size
- Color
This order produces consistent results regardless of where you fish.
Is there one perfect trout jig setup?
No. Trout behavior changes with water depth, current, clarity, light levels, temperature, and fishing pressure. The best anglers adjust their jig setup to match conditions instead of relying on a single favorite combination.
Continue the Trout Jig System
If you have not read the previous parts:
Best Jig Head Color for Trout (Part 5)
Best Jig Head Shapes for Trout (Part 4)
Best Hook Size for Trout Jigs (Part 3)
How Jig Head Weight Affects Trout (part 2)
Best Jig Heads for Trout (part 1)
Final System
This completes the trout jig system.